
How To - CLM Settings
A number of setup operations must be carried out prior to using Zonal CLM within your estate
-
For estates using TXD, an API account must be created in Voucher Manager.
-
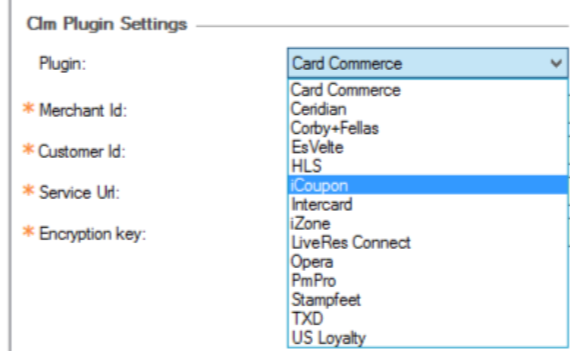
For LiveRes, LiveRes Connect and EsVelte, you will receive the POS Token and Password from the ZMT Department and then follow the Documentation for setting up these Plugins.
Defining CLM Card Schemes
The first step is to define the CLM scheme cards that will be used on the system.
-
From the Head Office Aztec Start Page, open Aztec Base Data and select CLM Settings.
-
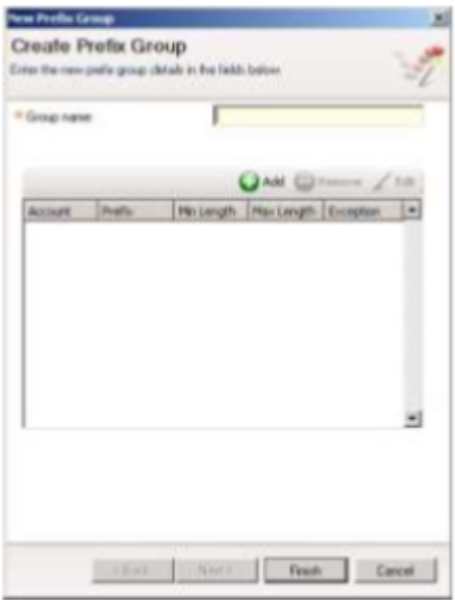
Adjacent to CLM Settings, click Add and enter a name for the first card group you require.
-
Click Finish or click Add to add a new Prefix.
-
The Account field allows you to choose which CLM scheme you want to set up:
-
Loyalty - Voucher can be printed or electronic
-
TXD - Electronic vouchers in the form of barcodes and AR codes
-
e-Gift - Voucher can be printed or electronic
-
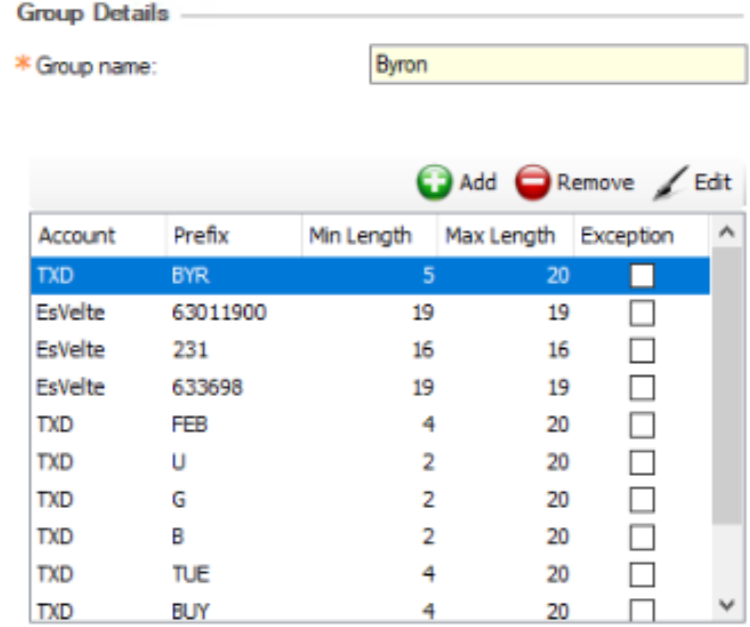
When you create Vouchers and use a Prefix, that Prefix must be included in the Group Details
- Select the required Account Type from the drop-down list.
-
Enter the card scheme prefix
This can be alphanumeric and is typically up to 8 characters, although you can enter up to 20 if required.
- Set the minimum and maximum lengths as required.
-
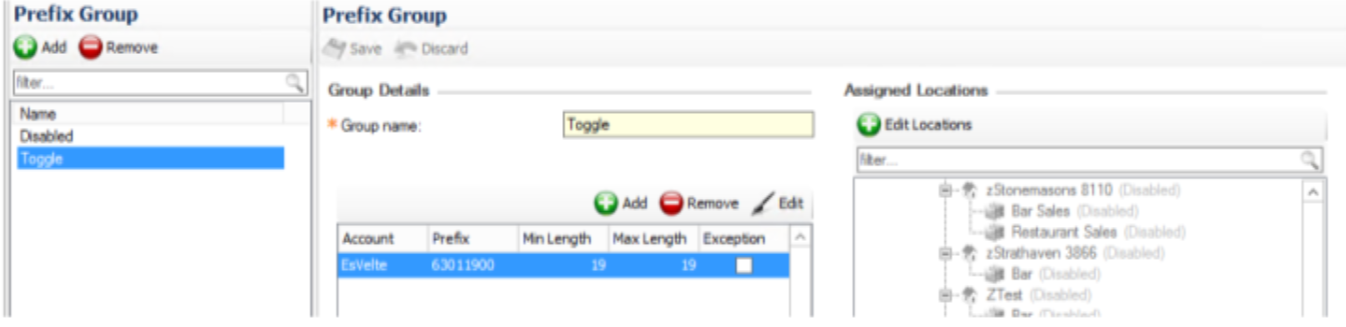
Use the Assigned Locations tree to apply the areas and locations to which all the Prefix Groups apply. This can also be set up in Base Data --> Estate Structure.
- Assign the scheme as high as possible in the tree.
All lower entities in the tree inherit the card group from the level above, unless they are explicitly removed by selecting them in the Disabled prefix group. - Click OK to save your changes.
You can only use 1 Prefix Group, and all Promotional prefixes will live under this Group
Card prefixes do not need to be unique across the different groups.
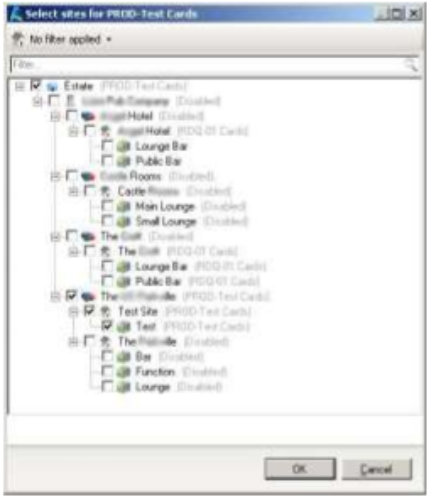
If you don’t want it to apply to all sites, it is quicker and easier to apply it to your whole estate and exclude certain sites by adding them to the Disabled Prefix Group.